2. Starting Solr in Standalone Mode
Apache Solr Tutorial
- Apache Solr6 Download & Installation
- Starting Solr in Standalone Mode
- Starting Solr in Cloud Mode with Embedded Zookeeper
- External ZooKeeper 3.4.6: Download & Installation
- Solr cloud mode with External Zookeeper on a Single Machine
- Solr cloud mode with External Zookeeper on different Machines
This section describes how to run Solr in Standalone Mode. This can be achieved by running Solr independently without zookeeper where you have a single core for each index.
In this section, we will discuss about the standalone server and core, to run Solr with an example schema, how to add documents, and how to run queries. When the Solr server is started in Standalone mode the created configuration is called core and when it is started in SolrCloud mode the created configuration is called Collection.
1. Starting Solr Server
Solr server can be started by running following command in the bin directory from the Solr directory.
$ bin/solr start

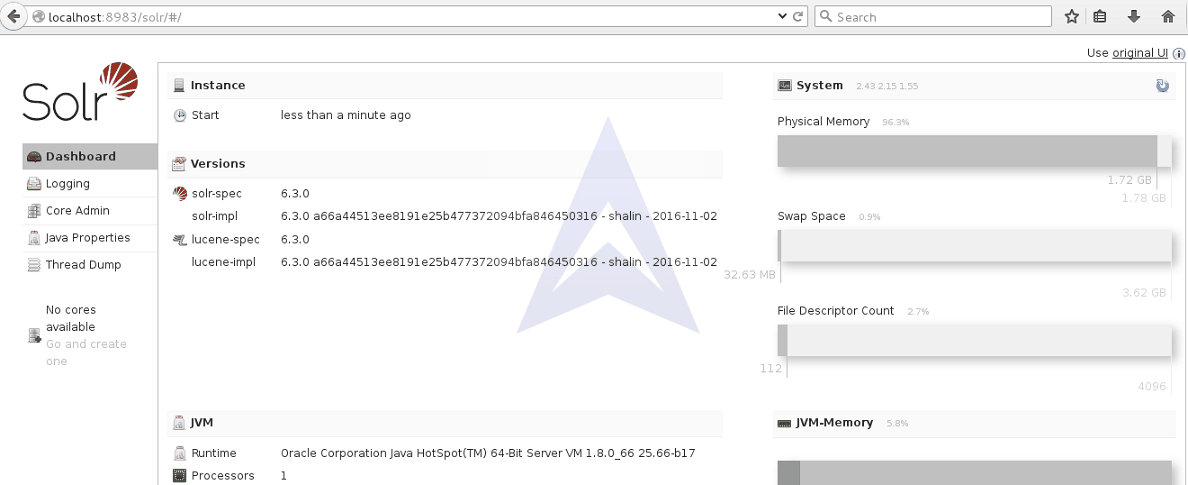
This will start Solr, listening on default port 8983. Now, let’s open the Solr GUI by logging into localhost:8983 in the web browser.
2. Using Solr Help
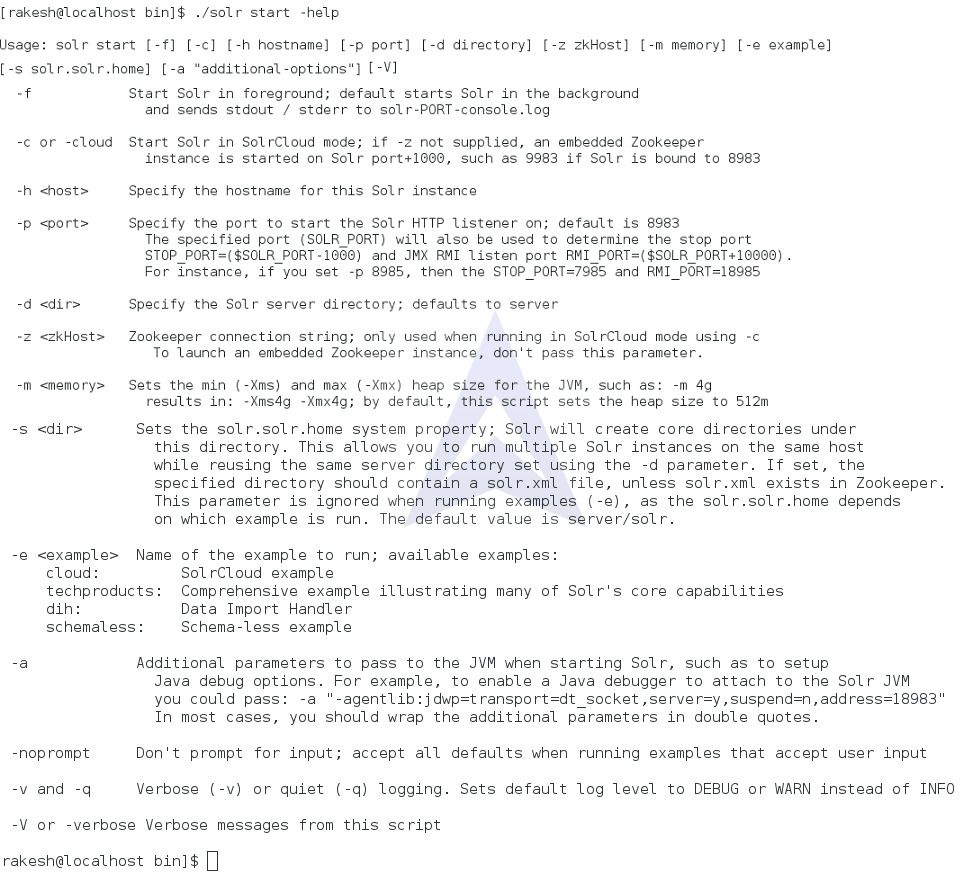
Use help command for specific usage instructions of Solr
$ bin/solr start -help
3. Starting Solr Server with a Different Port
We can change the port Solr listens on, by giving -p as a parameter to Solr start command.
$ bin/solr start -p 8984

4. Stopping Solr Instance
To stop Solr instance running on a specific port use -p parameter with Solr stop command.
$ bin/solr stop -p 8983

5. Creating Core in Solr
We will use the -c parameter to create a core in Solr.
$ bin/solr create_core -c core1
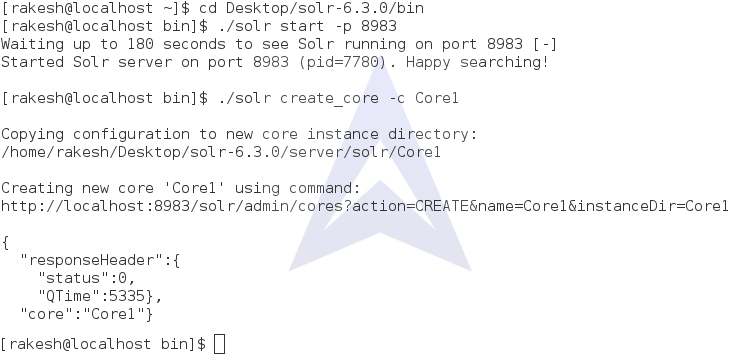
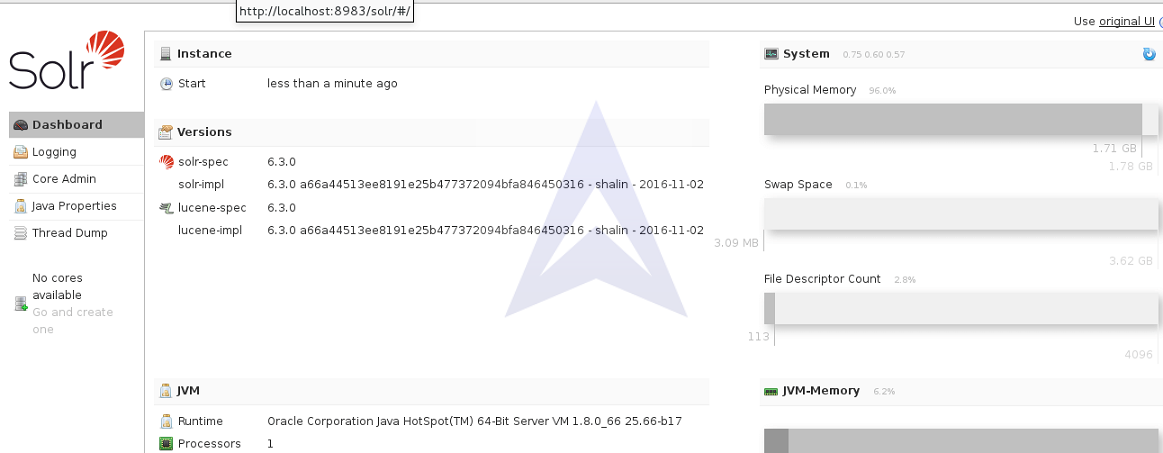
Now, let’s check the Solr GUI for created core named as Core1.
6. Posting Documents in the Core
$ bin/post -c core1 example/exampledocs/*xml
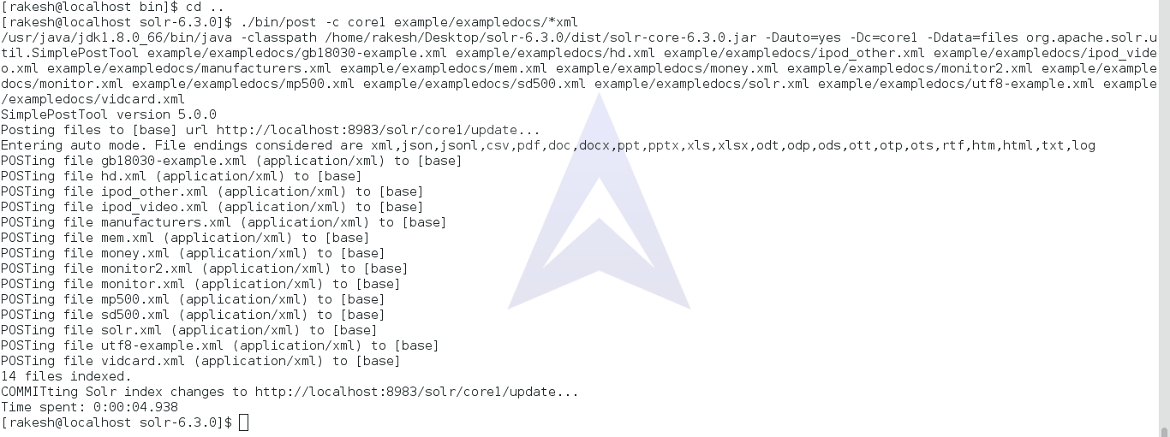
Now, let’s explore Solr GUI to check number of documents posted to core1.
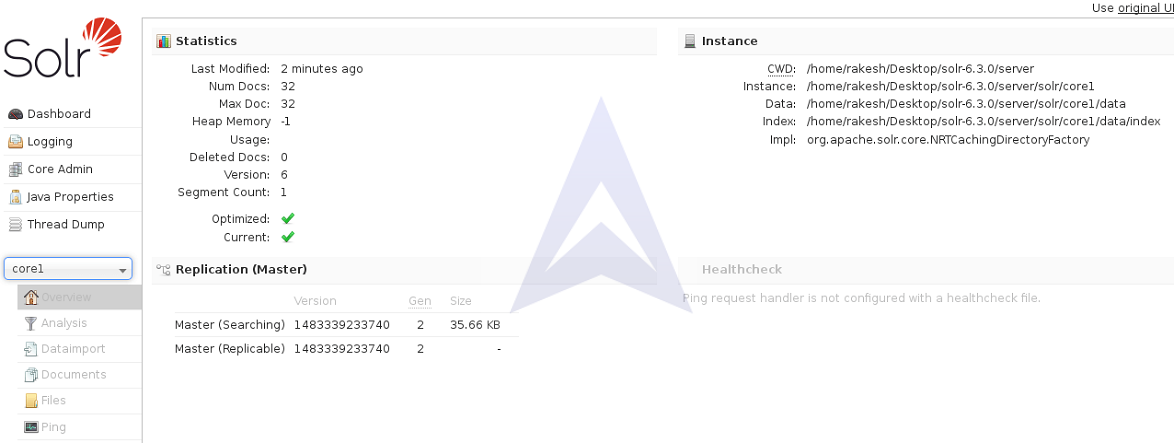
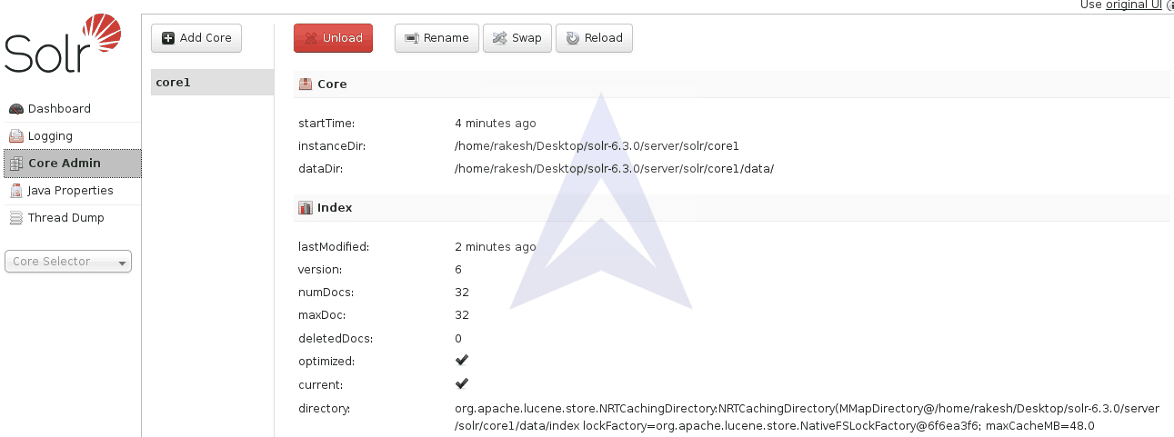
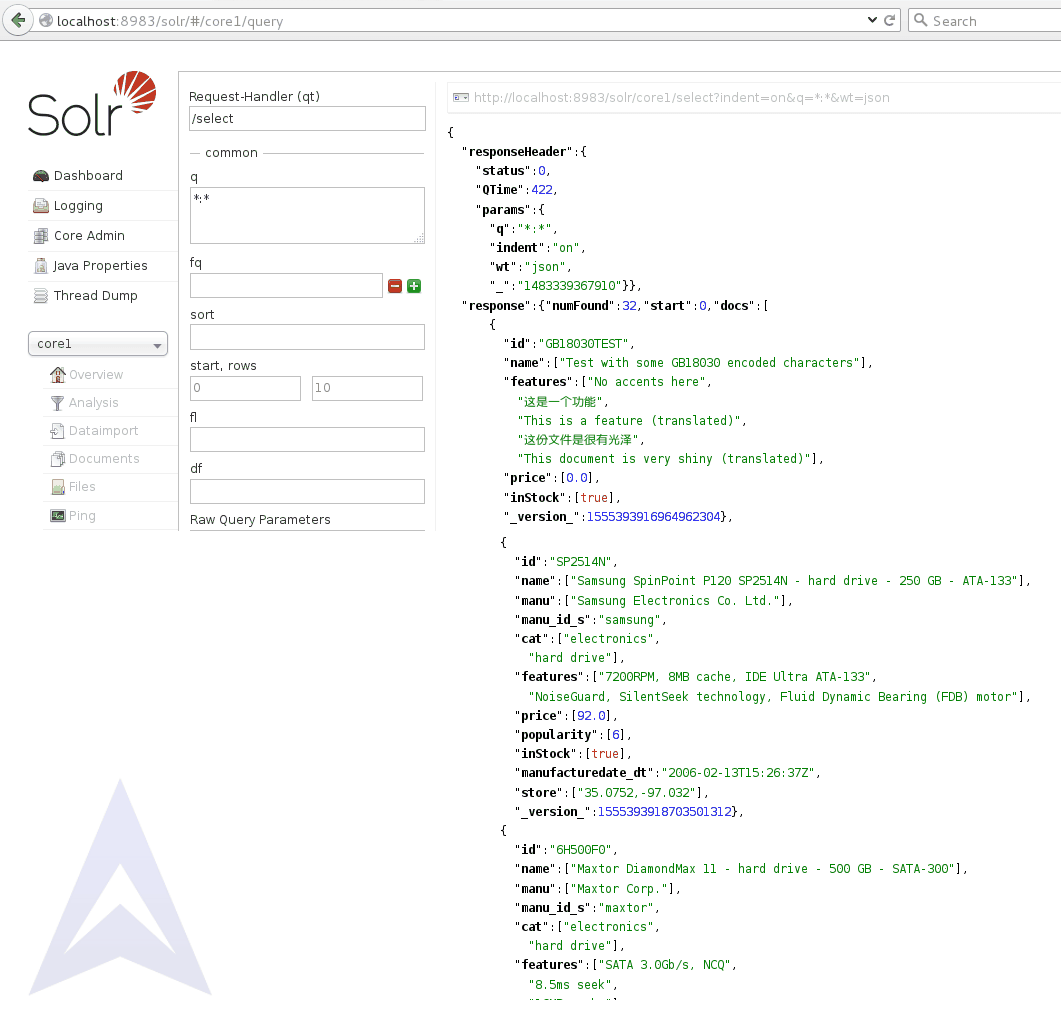
7. Running Query on the Documents
We can run the desired query in the -q field of the Solr GUI query panel.
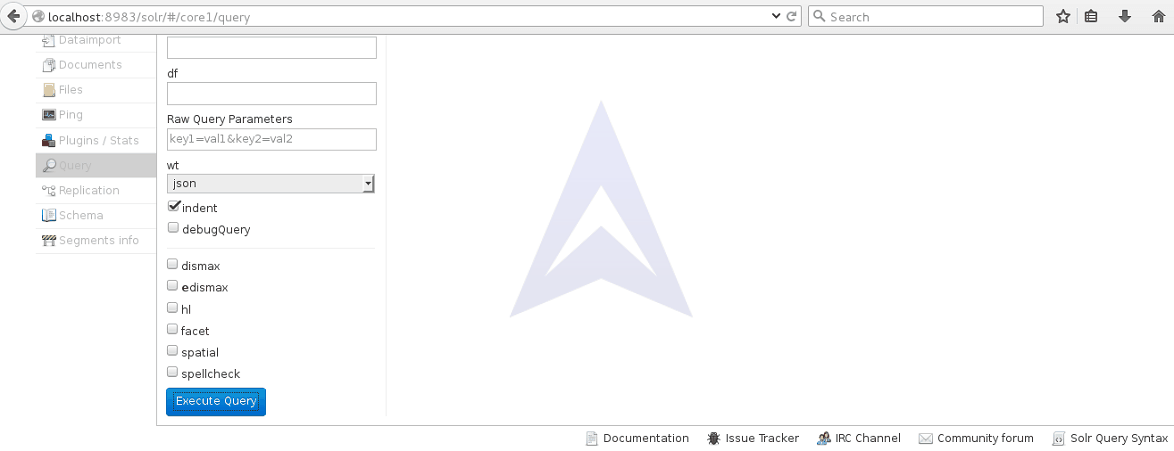
Once the query is executed we get the following result.
8. Deleting Solr Core
We can delete the core previously created by using -c parameter with delete command in Solr.
$ bin/solr delete -c core1 -p 8983

9. Starting Solr with a Specific Bundled Example Configuration Set
Solr introduced a provision to create a set of sharable configuration files called Config Sets, that can be used to create new cores. The example configurations allow to get started with a configuration that mirrors what you want to accomplish with Solr.
We can launch the examples using -e
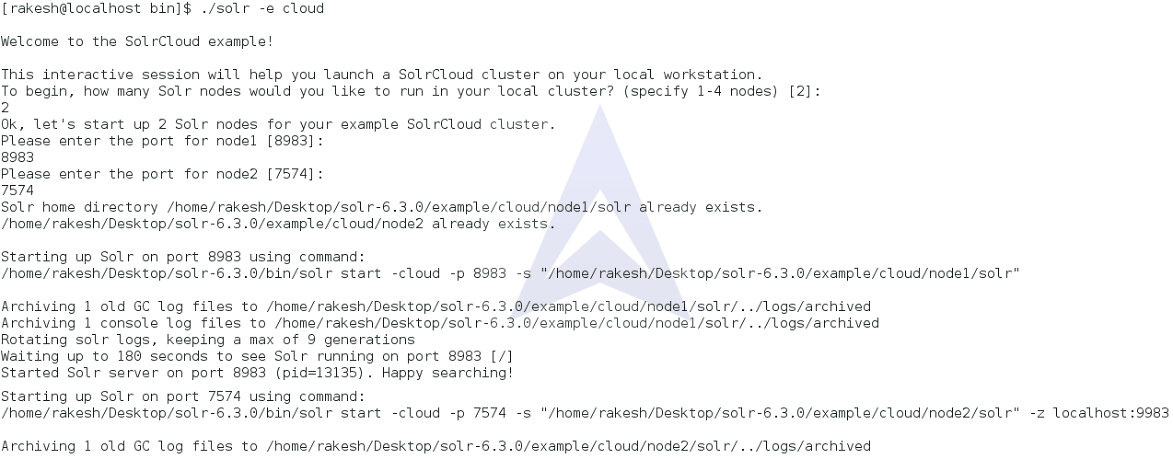
Cloud: SolrCloud example
The cloud example starts a 1-4 node SolrCloud cluster on a single system. An interactive session will be initiated to take you through options to select an initial config set to start with.
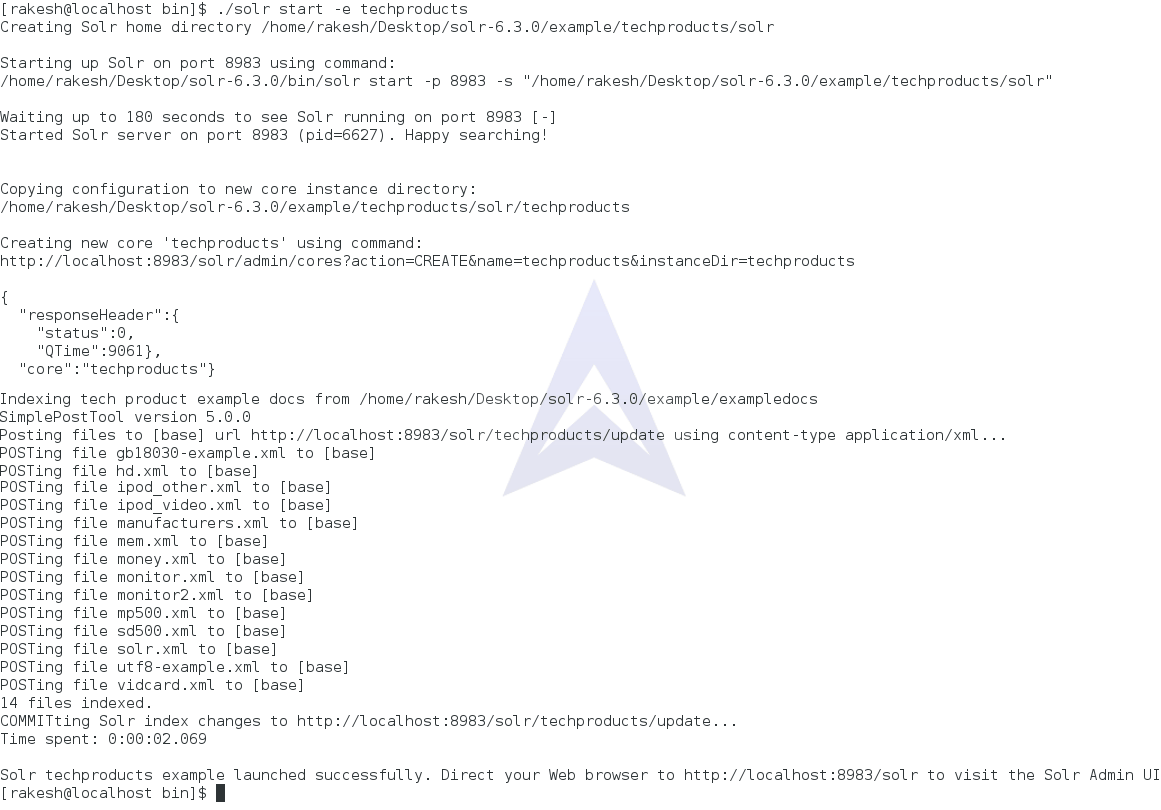
Techproducts: Comprehensive example illustrating many of Solr's core capabilities.
The Techproducts example starts Solr in standalone mode. It starts Solr schema designed for the sample documents included in exampledocs directory under example directory from Solr. The configuration used can be found in sample_techproducts_configs directory.
Dih: Data Import Handler
The Data Import Handler (DIH) provides a mechanism for extracting data from a data store and indexing it. DIH can index content from Relational Database, HTTP based data sources such as RSS and ATOM feeds, e-mail repositories, and structured XML.
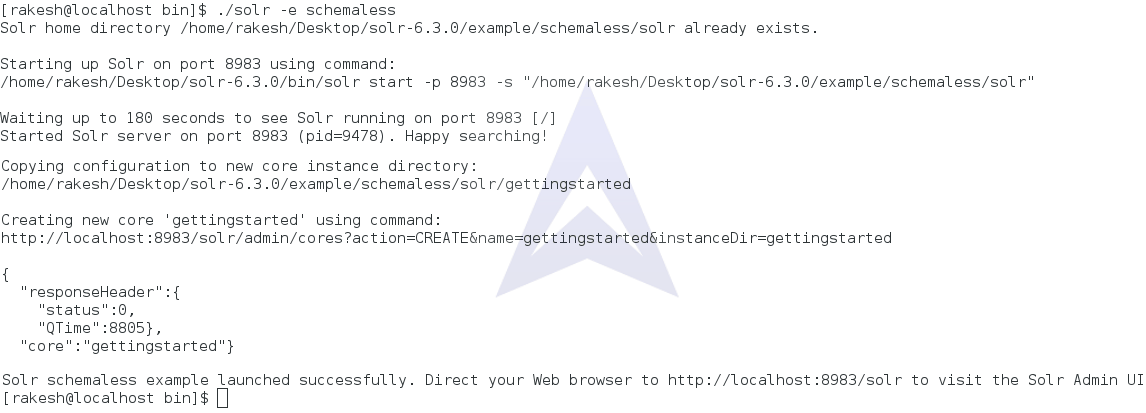
Schemaless: Schema-less example
The Schemaless example starts Solr in standalone mode using a managed schema, and provides a very minimal pre-defined schema.
Now, let’s run Solr with these example configurations.
To launch the "techproducts" example, we would do:
$ bin/solr -e techproducts
To launch the {"dih"} example, you would do:
$ bin/solr -e dih

To launch the {"schemaless"} example, you would do:
$ bin/solr -e schemaless
To launch the {"cloud"} example, you would do:
$ bin/solr -e cloud
This topic we have explained in detail in Section 3.
10. Checking Solr Server Status
To check if Solr is running locally, we can use the status command:
$ bin/solr status
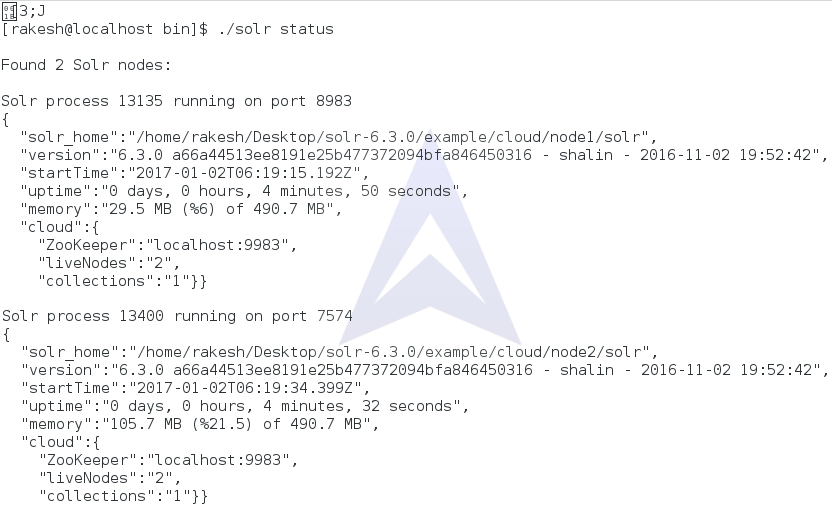
This will gather all the Solr instances running on the system and provide basic information about them, such as the version and memory usage.
11. Stopping All Solr Instances
We can use - all parameter to stop all running Solr instances.
$ bin/solr stop -all


