5. Starting Solr in Cloud Mode with External Zookeeper Ensemble on a Single Machine
Apache Solr Tutorial
- Apache Solr6 Download & Installation
- Starting Solr in Standalone Mode
- Starting Solr in Cloud Mode with Embedded Zookeeper
- External ZooKeeper 3.4.6: Download & Installation
- Solr cloud mode with External Zookeeper on a Single Machine
- Solr cloud mode with External Zookeeper on different Machines
“Cloud” became very ambiguous term and it can mean virtually anything those days. Think about Solr Cloud as one logical service hosted on multiple servers. In SolrCloud we can have multiple collections. Collections can be divided into partitions which can be referred as slices. Each slice can exist in multiple copies, these copies of the same slice are called shards. One of the shards within a slice is the leader, though this is not fixed. Any shard can become the leader through a leader-election process.
SolrCloud provides replicas for providing redundancy for both scalability and fault tolerance.
Zookeeper is a centralized service for maintaining configuration information, naming, providing distributed synchronization, and providing group services. A Zookeeper server helps to manage the overall structure so that both indexing and search requests can be routed properly.
1. Creating a Zookeeper Cluster on the Same System
To create a cluster of Zookeeper on the system, create three copies of the extracted ZooKeeper folder and name them as ZooKeeper1, ZooKeeper2 and Zookeeper3.
Now we will arrange a cluster of three nodes on the same host. Below is the cluster map:
Node 1: /Home/Desktop/zookeeper/zookeeper1/
Node 2: /Home/Desktop/zookeeper/zookeeper2/
Node 3: /Home/Desktop/zookeeper/zookeeper3/
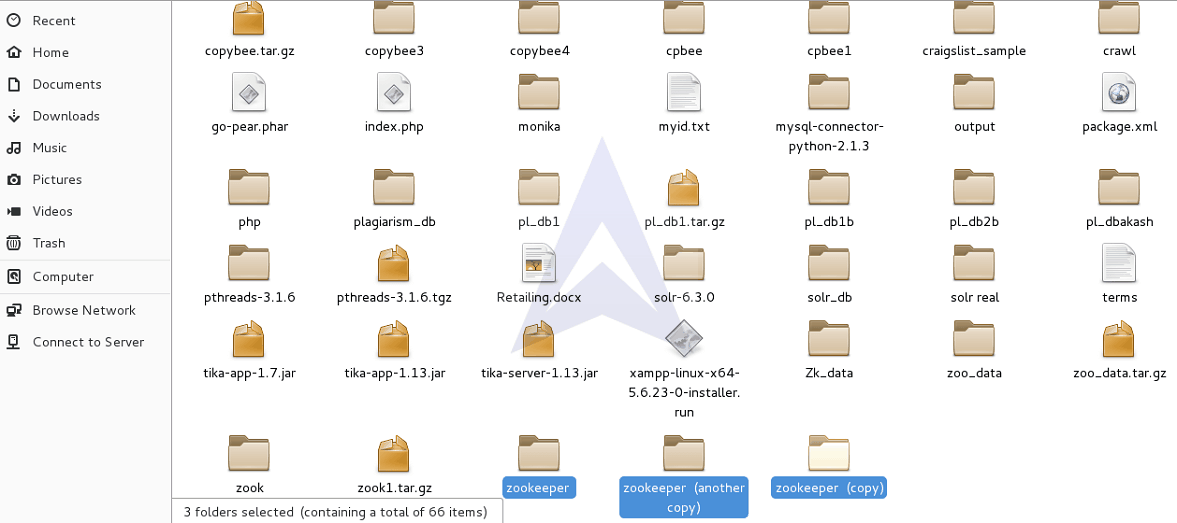
Store the created folders ZooKeeper1, ZooKeeper2 and ZooKeeper3 under a directory named as ZooKeeper.
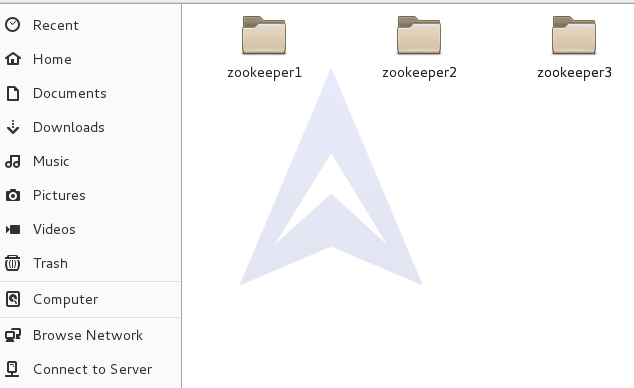
After creating multiple copies of ZooKeeper, let’s create a data directory to store the data and log files for Zookeeper ensemble.
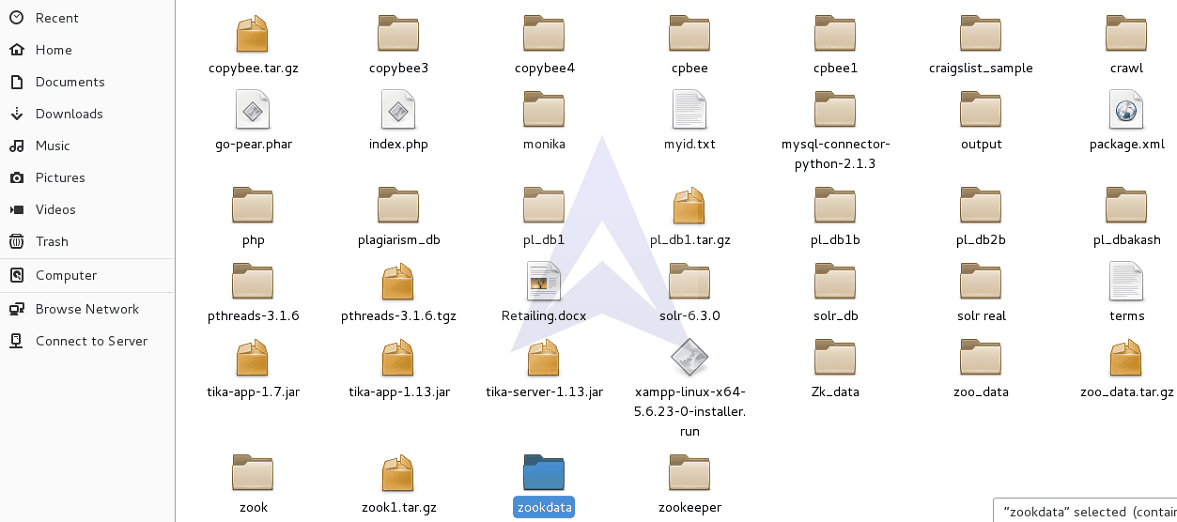
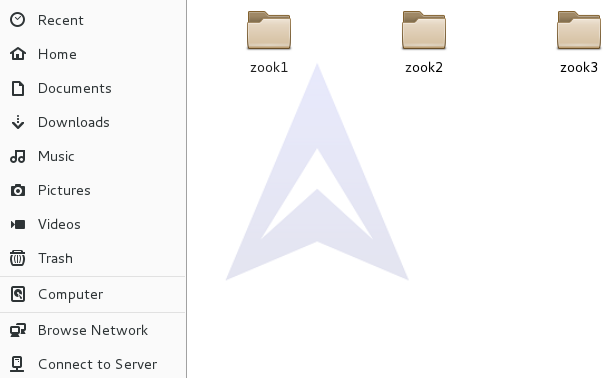
Now, create three Zookeeper data directories to store data and log files for three individual ZooKeeper ensembles and name it as zook1, zook2 and zook3.
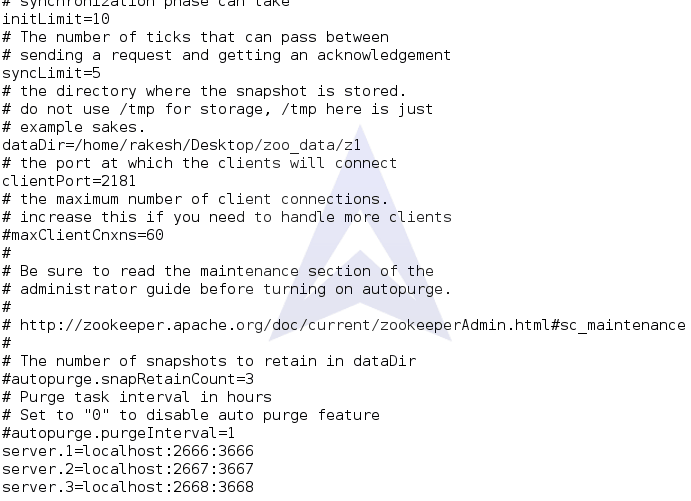
Now, let’s make the required changes in the zoo.cfg file for the Node1.
{`
tickTime=2000

initLimit=10
syncLimit=5
dataDir=/home/rakesh/Desktop/zookdata/zook1
clientPort=2181

server.1=localhost:2666:3666
server.2=localhost:2667:3667
server.3=localhost:2668:3668
`}
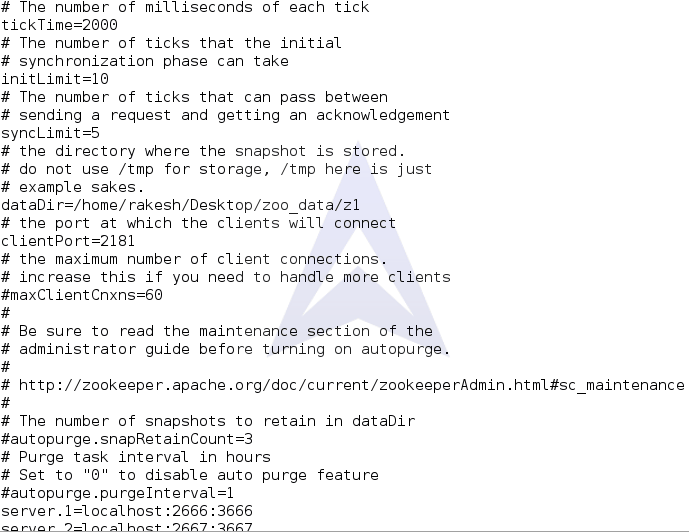
Here are the required changes in the zoo.cfg file for the Node2.
{`
tickTime=2000

initLimit=10
syncLimit=5
dataDir=/home/rakesh/Desktop/zookdata/zook2
clientPort=2182

server.1=localhost:2666:3666
server.2=localhost:2667:3667
server.3=localhost:2668:3668
`}
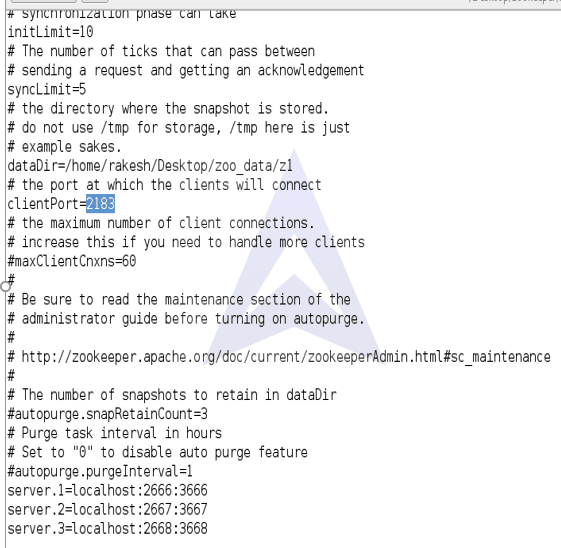
Here are the required changes in the zoo.cfg file for the Node3.
{`
tickTime=2000

initLimit=10
syncLimit=5
dataDir=/home/rakesh/Desktop/zookdata/zook3
clientPort=2183

server.1=localhost:2666:3666
server.2=localhost:2667:3667
server.3=localhost:2668:3668
`}
Server.n specifies the address and port numbers used by ZooKeeper Server n. Now, let’s understand in detail the fields specified on the right side of Server.n
- The hostname or IP address of server n is specified in the first field.
- The port used for peer to peer communication in the Quorum (connecting followers to leaders) is specified in the second field. The TCP connection to the leader is initiated by the follower using this port.
- The third field specifies a port for leader election in the Quorum.
Since we are using multiple Servers, the server figures out its ID by accessing a file named myid in the data directory created by the user in the zoo.cfg file.
The myid file can be created with the following command for Server1, Server2 and Server3 in the data directory.
{`$ echo 1 > /home/rakesh/Desktop/zookdata/zook1/myid
$ echo 2 > /home/rakesh/Desktop/zookdata/zook2/myid
$ echo 3 > /home/rakesh/Desktop/zookdata/zook3/myid
`}
2. Starting Zookeeper in a Quorum
Now, let’s start the ZooKeeper instances using the following commands:
{`$ zookeeper/zookeeper1/bin/zkServer.sh start zoo.cfg`}
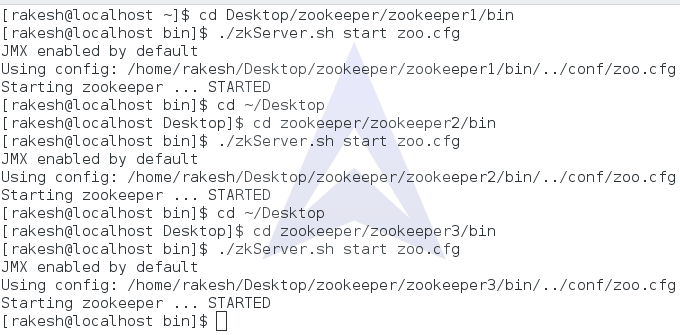
After starting the ZooKeeper instances, let’s check the status of the individual ZooKeeper instances step by step using the command,
{`$ zookeeper/zookeeper1/bin/zkServer.sh status`}
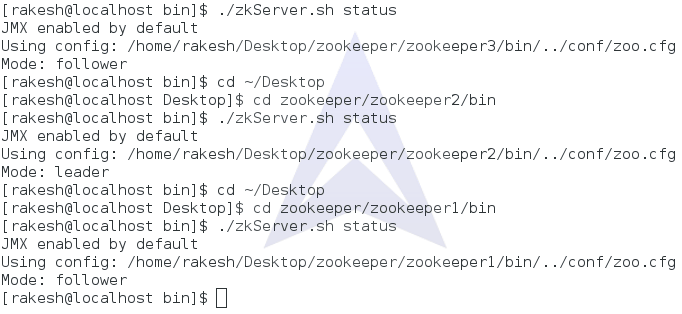
After running the status command for ZooKeeper ensemble, we can check the followers and leader association among them.
Here, the association is given as follows:
{`
Zookeeper1 as follower
Zookeeper2 as leader
Zookeeper3 as follower
`}
3. Starting Zookeeper Client
{`
Now, let’s start the ZooKeeper1 Client instance using the command:
$ zookeeper/zookeeper1/bin/zkCli.sh -server localhost:2184
`}
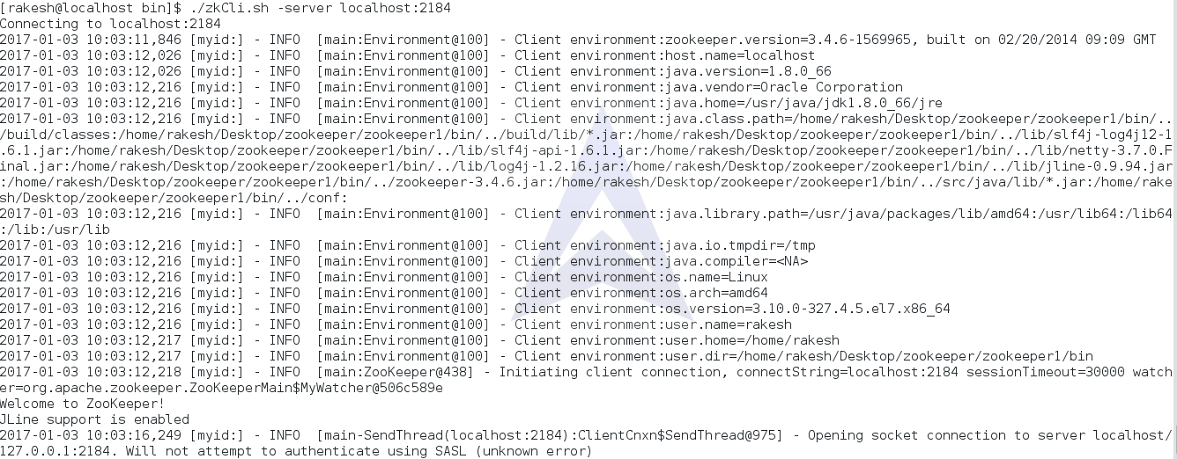
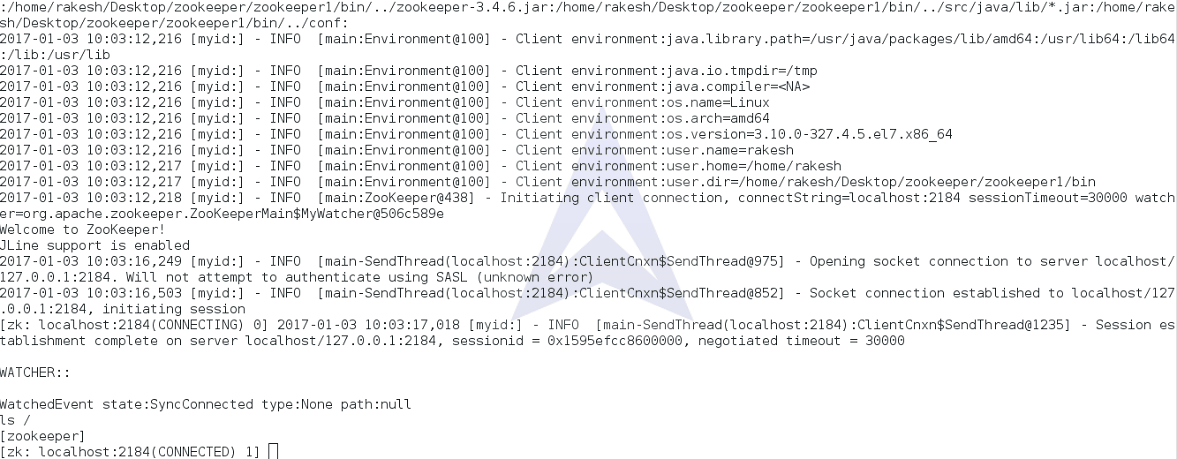
{`
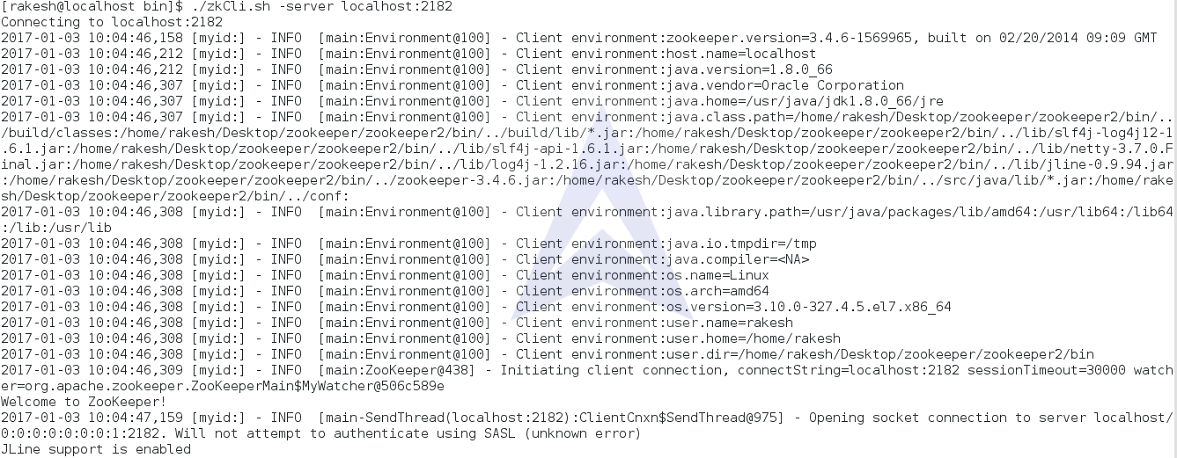
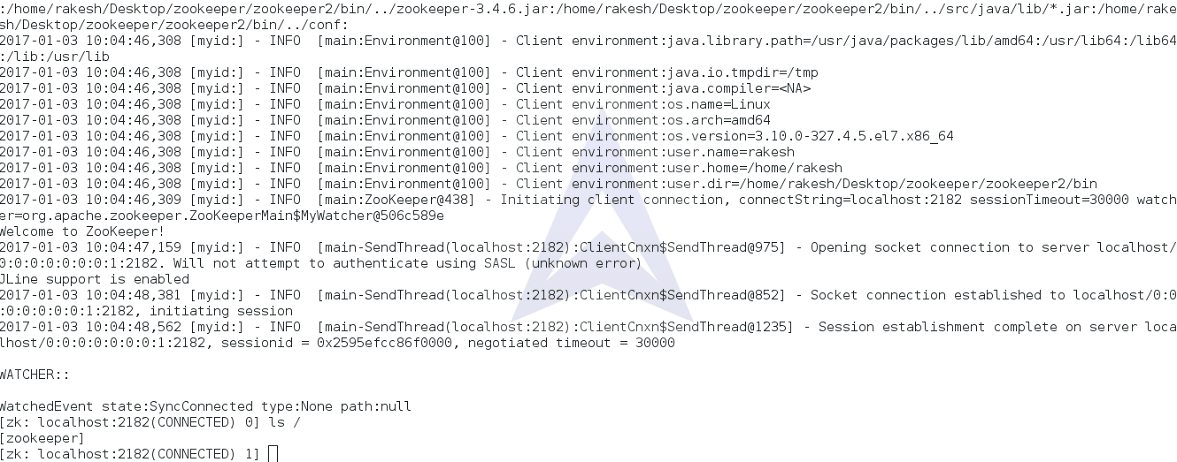
Here is the ZooKeeper2 Client instance running using the command:
$ zookeeper/zookeeper2/bin/zkCli.sh -server localhost:2182
`}
{`
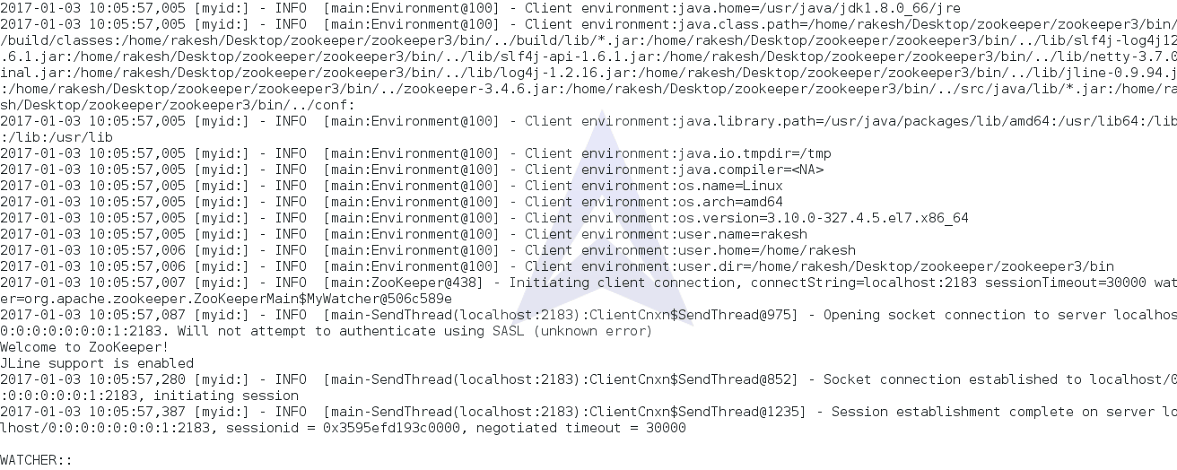
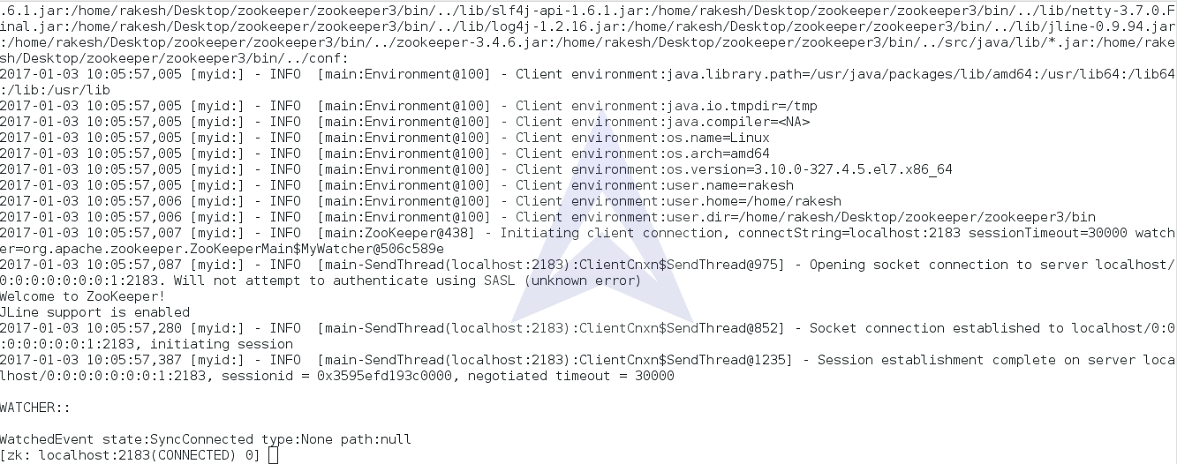
Here is the ZooKeeper3 Client instance running using the command
$ zookeeper/zookeeper3/bin/zkCli.sh -server localhost:2183
`}
4. Starting SolrCloud with Multiple External ZooKeepers
We have started the individual Zookeeper Server and Client instances on our system. Now, let’s start the Solr in Cloud Mode with these external Zookeepers.
To start Solr in Cloud Mode with created ZooKeeper instances on the same system use following command:
{`
$ solr1/bin/solr/ start -c -p 8983 -z localhost:2184, localhost:2182, localhost:2183`}

This will start Solr instance in Cloud Mode on the port 8983.
We can visit http://localhost:8983/solr to check the status of SolrCloud.
